Receipts, screenshots, whiteboard photos, and phone scans are easier to review when they become one ordered PDF instead of a folder of loose images. The hard part is rarely the conversion button. It is choosing the right files, putting them in the right sequence, and checking the PDF before it becomes the copy you archive or send.
For this refresh, I tested the NexKit Image to PDF tool with three generated, non-personal images: a portrait JPEG receipt, a landscape PNG diagram, and a square static WebP note. The production tool accepted all three formats, kept them in the displayed order, and created a 3-page PDF in the browser.
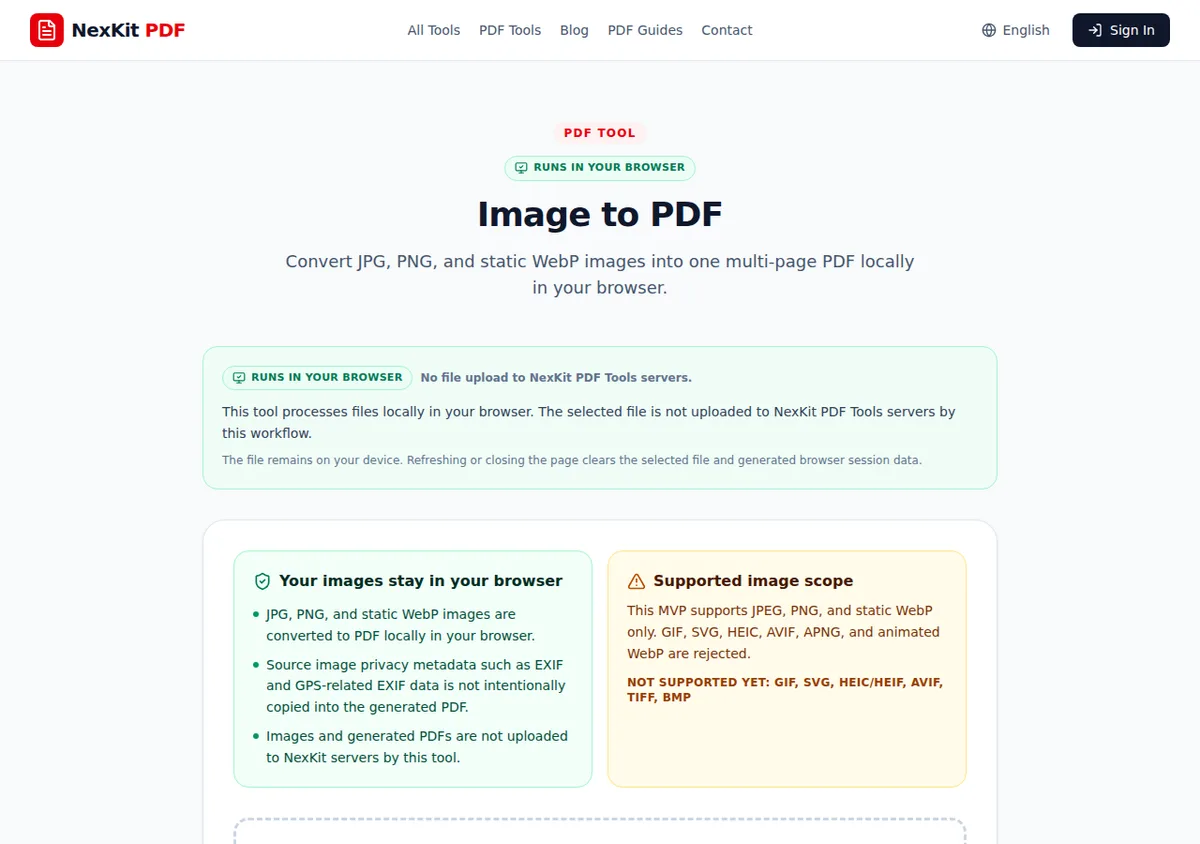 Tested Image to PDF workflow with three generated images in different formats, sizes, and orientations.
What I verified
The test used one JPEG, one PNG, and one static WebP. Together, the input images were 63,486 bytes. NexKit showed each file with dimensions and format before conversion, then created a 3-page PDF. The production page also displayed the browser-local processing notice: selected images are processed locally in the browser and are not uploaded to NexKit PDF Tools servers by this workflow.
In the browser network capture for this test, there were no POST, PUT, or PATCH requests while the files were selected and the PDF was created. That supports the browser-local wording for this specific tool. It should not be generalized to every possible online file tool; always check the disclosure on the tool page you are using.
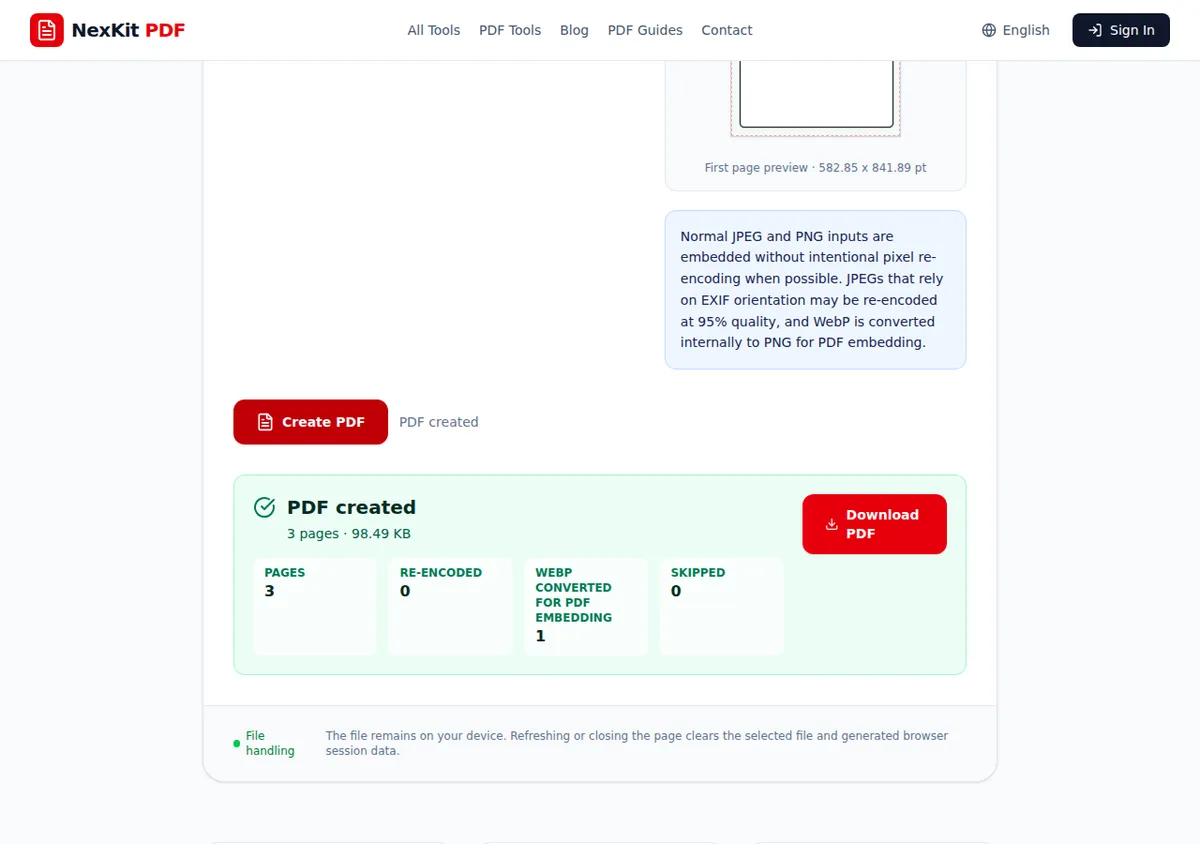 The generated test output was a 3-page PDF. The UI also reported one WebP conversion step for PDF embedding.
Prepare the image set first
Before opening the converter, create a short staging folder and copy only the images that belong in the final packet. This prevents unrelated screenshots or duplicate phone photos from slipping into the PDF.
For a receipt packet, a practical order is usually chronological:
2026-06-01-hotel.jpg2026-06-02-taxi.png2026-06-02-dinner.webp
For a scan packet, order the files by page:
application-page-01.jpgapplication-page-02.jpgapplication-page-03.jpg
NexKit shows the selected image order before conversion, so use that review moment. Do not assume your operating system sorted files the way you intended.
Check dimensions and orientation
Mixed image sizes can still become one PDF, but the result may feel uneven if pages switch between portrait, landscape, and square layouts. In my test, the tool displayed a portrait JPEG at 900 x 1300 pixels, a landscape PNG at 1300 x 900 pixels, and a square WebP at 1000 x 1000 pixels.
That mixed set is useful when the PDF is just a record packet. If the destination expects a formal document, standardize images first:
- Rotate sideways photos before conversion.
- Crop large table backgrounds or desk edges.
- Remove duplicate shots.
- Put cover pages, receipts, and supporting screenshots in a logical order.
- Avoid mixing unrelated screenshots with scanned documents unless they are part of the same record.
If you need a more scan-focused pipeline, use the scanned document organization guide before archiving the final PDF.
Convert with settings you can review
On the tested production page, the Image to PDF tool offered page size, orientation, fit/fill, and margin controls. The safest default for mixed receipts and scans is usually to keep the image readable rather than force every page into a uniform crop. Use “Fit” when losing edges would be a problem.
After selecting files:
- Confirm every expected image is listed.
- Check the order from top to bottom.
- Review whether portrait, landscape, and square pages make sense in one packet.
- Create the PDF.
- Open the downloaded file and review every page.
The PDF should not be treated as complete until you have opened the output. A clean conversion can still be the wrong document if the page order is wrong.
Know the limits
The current Image to PDF tool supports JPEG, PNG, and static WebP. The production page rejects formats outside that scope, including HEIC/HEIF, AVIF, GIF, SVG, TIFF, BMP, APNG, and animated WebP.
The tested page also states that source image privacy metadata such as EXIF and GPS-related EXIF data is not intentionally copied into the generated PDF. That is useful, but it is not a reason to ignore input review. If an image visibly contains private information, conversion does not make that information safe.
Compress only after review
Image-based PDFs can be large, especially when photos come from phones or scanners. Compress after conversion only when you have already verified that the PDF contains the right pages in the right order.
If the file is too large for email or an upload form, use Compress PDF and then inspect the compressed copy. The compression tool may not reduce every PDF, and small text should always be checked after compression.
Final check before sending
Use this short review pass before the PDF leaves your machine:
- The file name describes the document, date, and purpose.
- The page order matches the workflow.
- Sideways pages have been fixed.
- Tiny receipt text remains readable.
- The PDF opens correctly after download.
- Any compressed copy has been reviewed separately.
For broader file cleanup around naming, folders, and handoff, the weekly file organization routine pairs well with this conversion workflow.
Related tools
- Image to PDF for converting JPEG, PNG, and static WebP images into one PDF in the browser.
- Rotate PDF for fixing page orientation after document preparation.
- Compress PDF when image-based PDFs become too large.