File organization becomes difficult when downloads, screenshots, PDFs, and temporary exports are allowed to become a second filing system. A weekly routine works because it is small: sort the inbox, prepare the files that need tool work, and move final versions into the right place.
NexKit does not manage folders, store files long term, sync backups, or replace your operating system or cloud drive. Use it only for file-processing steps inside the routine: convert images, merge PDFs, remove pages, compress a PDF when size is a blocker, or clean common image metadata before saving a copy.
For this refresh, I tested two routine tasks with generated fixtures: a small PDF passed through Compress PDF, and two generated images passed through Remove Image Metadata. Both tested tools disclosed browser-local processing on the production page.
The 15 to 20 minute example
This is an editorial example, not a guarantee. Some weeks need five minutes; some need an hour. The point is to make the routine bounded enough that you will repeat it.
| Minute | Task | Output |
|---|---|---|
| 0-3 | Empty downloads into a weekly inbox folder | You can see what needs action. |
| 3-7 | Rename important files | Names explain purpose without opening each file. |
| 7-12 | Process PDFs and images where needed | Files are converted, cleaned, merged, or compressed. |
| 12-16 | Move files into project folders | Active work and final copies are separated. |
| 16-20 | Prepare next week and backup/sync normally | Next week starts from clear folders. |
Use this routine with the file naming best practices guide if inconsistent names are the main problem.
Step 1: make a weekly inbox
Create one temporary folder for the week, such as weekly-inbox-2026-07-22. Move downloads, exports, screenshots, scanned pages, and loose PDFs there before sorting.
Do not process files directly from random desktop and download locations. A staging folder prevents mistakes such as compressing an old copy, merging the wrong draft, or archiving a screenshot that should have been deleted.
Step 2: decide which files need tool work
Not every file needs a tool. Sort first:
- Keep as-is: final PDFs already named and ready to archive.
- Rename only: documents that are fine but unclear.
- Convert: loose images that belong together as one PDF.
- Combine: related PDFs that need one packet.
- Remove or split: PDFs that include pages not needed in the final copy.
- Compress: PDFs blocked by a size limit.
- Clean metadata: images that may contain privacy-related metadata before storing or sharing.
For a team-level version of this intake pattern, use the small business file processing workflow.
Step 3: test output, not just completion
In the 31C-B compression test, a generated two-page PDF was accepted by Compress PDF, but the result said the file was already optimized. The original size and compressed size were both reported as 1.78 KB, with no reduction.
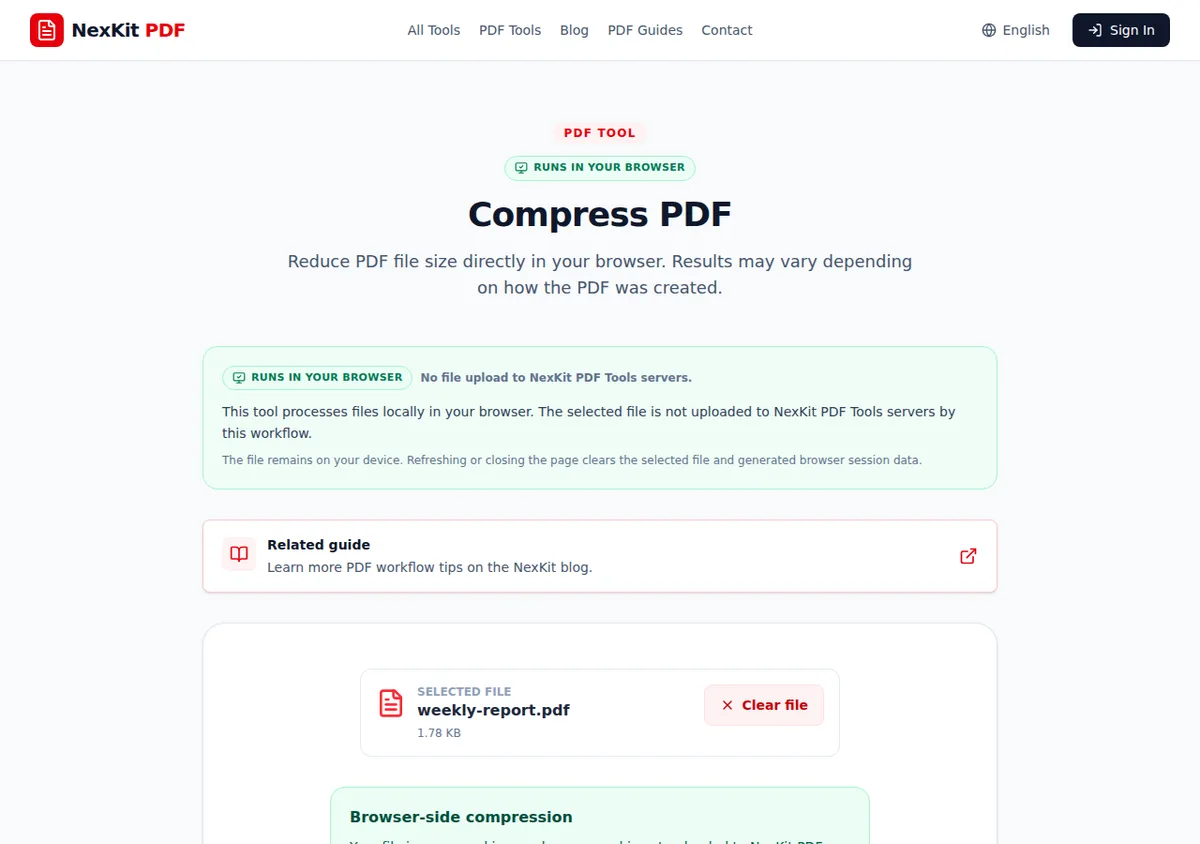 The generated weekly report was selected in the Compress PDF tool before processing.
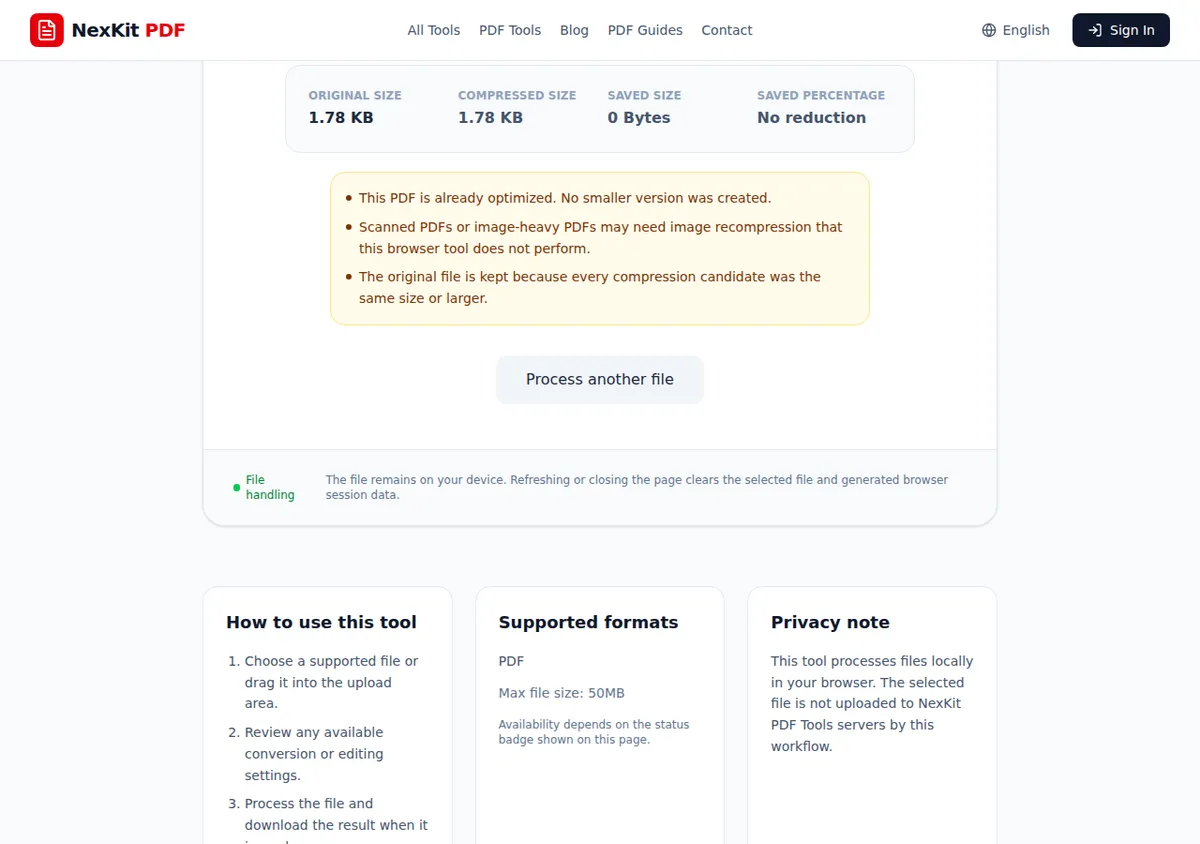 A small generated PDF did not become smaller. This is an expected limitation to plan around, not a reason to force another compression step.
That result is useful for the routine: do not promise yourself that every PDF will shrink. Use compression when a size limit exists, keep the original, and inspect the output when a smaller version is created.
Step 4: clean image metadata when it fits the workflow
Image metadata cleanup is useful when screenshots, receipt photos, or generated images are being stored or shared outside their original context. I tested Remove Image Metadata with one generated JPEG and one generated PNG. The tool completed both files in the browser and reported them as already clean because the fixtures did not contain removable metadata.
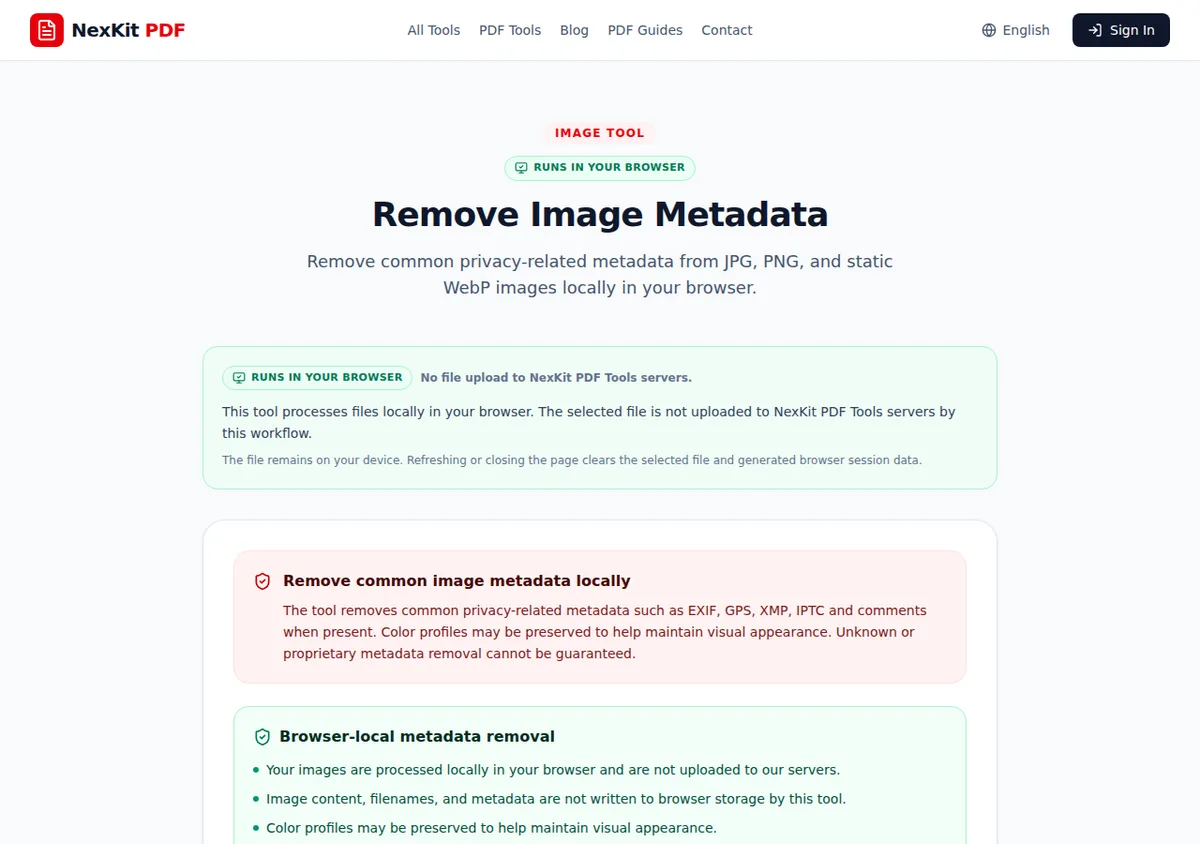 Two generated images selected for metadata cleanup during the weekly routine test.
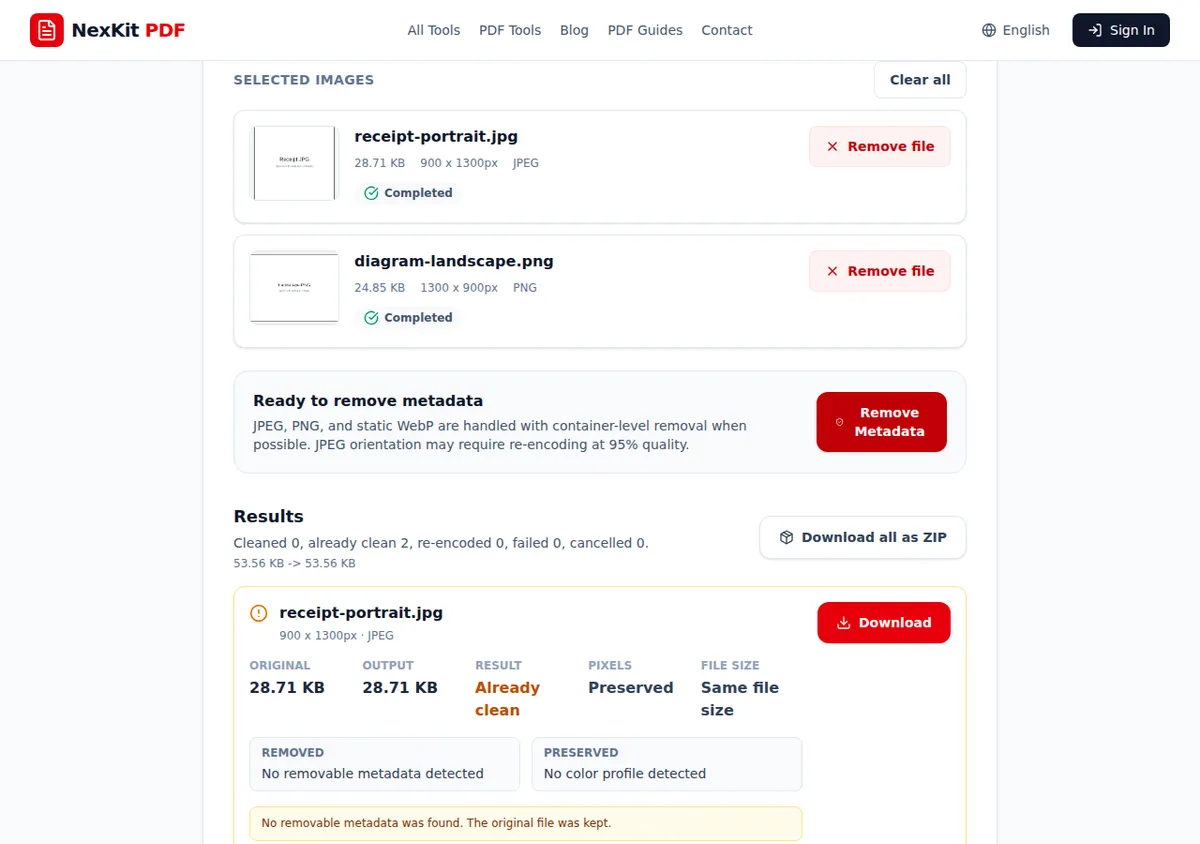 The generated images had no removable metadata. The tool kept the originals and reported an already clean result.
This tool removes common metadata when present; it does not guarantee forensic anonymization and it does not remove visible private information from the image itself.
Step 5: move final files out of the inbox
When tool work is complete, move final files into the folder where they belong:
client-reviewfor files awaiting review;approvedfor accepted deliverables;archivefor sent or signed copies;sourcefor original materials you need to keep;workingfor drafts and temporary exports.
Avoid mixing processed outputs and source files without labels. If a compressed PDF, merged PDF, or cleaned image replaces a draft in the workflow, make the filename show that.
Examples:
project-report-client-review-numbered.pdfreceipts-june-image-packet.pdfweekly-screenshots-metadata-cleaned.zipproposal-approved-copy.pdf
For client handoff, the client file sharing workflow guide gives a clearer send-and-archive pattern.
What NexKit is useful for in the routine
Use NexKit when you need a focused processing step:
- Image to PDF for turning related images or scans into one PDF.
- Merge PDF for combining related PDFs into a packet.
- Remove PDF pages when a final copy contains irrelevant pages.
- Compress PDF when file size blocks sending or uploading.
- Remove Image Metadata when common image metadata cleanup is part of the workflow.
Use your own folder system, cloud storage, or backup process for long-term organization. NexKit helps prepare files; it does not decide where they live after download.
Final weekly checklist
- Move loose files into a weekly inbox.
- Delete obvious duplicates and temporary files.
- Rename important files before moving them.
- Convert related images into PDFs only when they belong together.
- Merge, split, remove pages, or compress PDFs only when the task calls for it.
- Clean image metadata where relevant.
- Open processed outputs and verify readability, order, and page count.
- Move final files into project folders.
- Archive sent or approved versions.
- Run your normal backup or sync process outside NexKit.
The routine stays useful when it remains practical. Process only the files that need processing, verify every output that will be shared, and keep long-term storage decisions separate from tool work.